Getting Started: Universal Code
We want you to get started with ReplyBox as quickly as possible, so we’ve created this getting started guide. This guide refers to the Universal Code embed method, which supports all site types (including static sites). Using WordPress? Check out the Getting Started: WordPress Plugin guide.
Let’s get started!
Installation
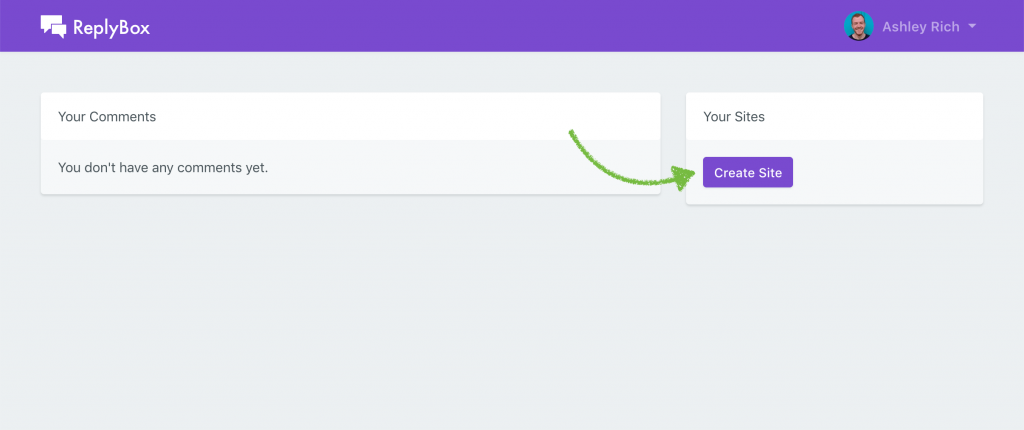
If you haven’t already, sign up to ReplyBox. Then head over to the dashboard and click Create Site.
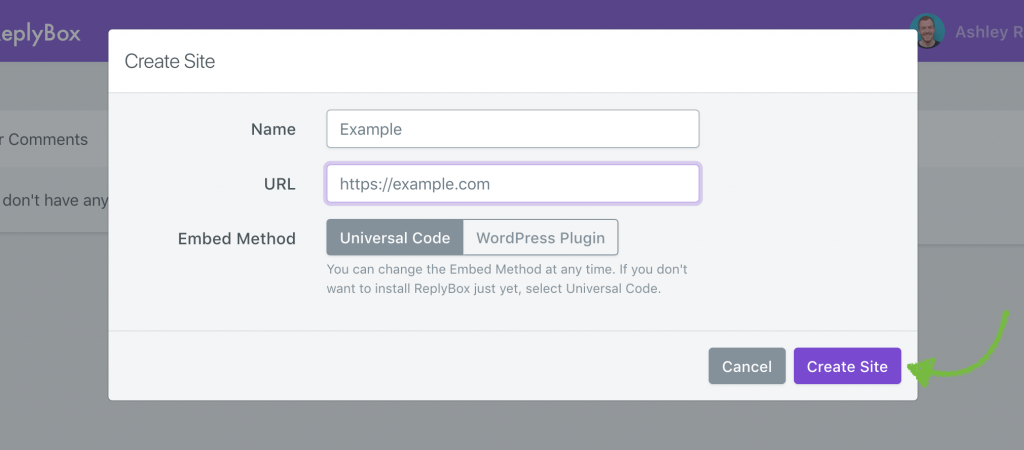
Enter your site’s name and URL, then click Create Site.
You’ll be presented with your unique embed code, which should be added to your site. Place <div id="replybox"></div> where you would like the comment section to appear. Then paste the JavaScript snippet before the closing </body> tag.
<script>
    window.replybox = {
        site: 'J8M03mBNIO',
    };
</script>
<script src="https://cdn.getreplybox.com/js/embed.js"></script>
Configuration
Although not required, it’s recommended that you provide a unique identifier for each page where ReplyBox will be embedded. This will ensure that comments are shown on the correct page, even if the page’s URL changes. This value can be anything, but typical values include database IDs, GUIDs or slugs.
<script>
    window.replybox = {
        site: 'J8M03mBNIO',
        identifier: 'UNIQUE_IDENTIFIER',
        bodyClass: 'is-dark'
        lang: 'en',
        sort: 'asc'
    };
</script>
<script src="https://cdn.getreplybox.com/js/embed.js"></script>
The bodyClass parameter allows you to parse through a class to the embed to allow custom styling depending on the page. If you have a mixture of light backgrounds and dark backgrounds on your website, this is the feature to use.
The lang parameter allows you to parse through a language code to translate the embed.
The sort parameter allows you to parse through a sort for the embed, the option by default is asc (oldest first) or the other option is desc (newest first).